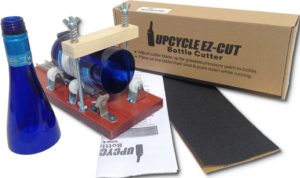
 Our Spring-Force Bottle Cutter model should have the following components included:
- Bottle cutter stand with adjustable knob screw & back brace
- Sandpaper
- Spring-Force Device with 2 springs, 2 bolts, 4 wingnuts, 4 washers, 1 cross board
This model includes the Spring-Force device built into the board which is sold on Amazon here. However, if you ordered our regular bottle cutter models, we also sell the add-on attachment kit here.
Setup with Detailed Steps
Step 1: Place bolts through holes, tighten with washer and wingnuts.
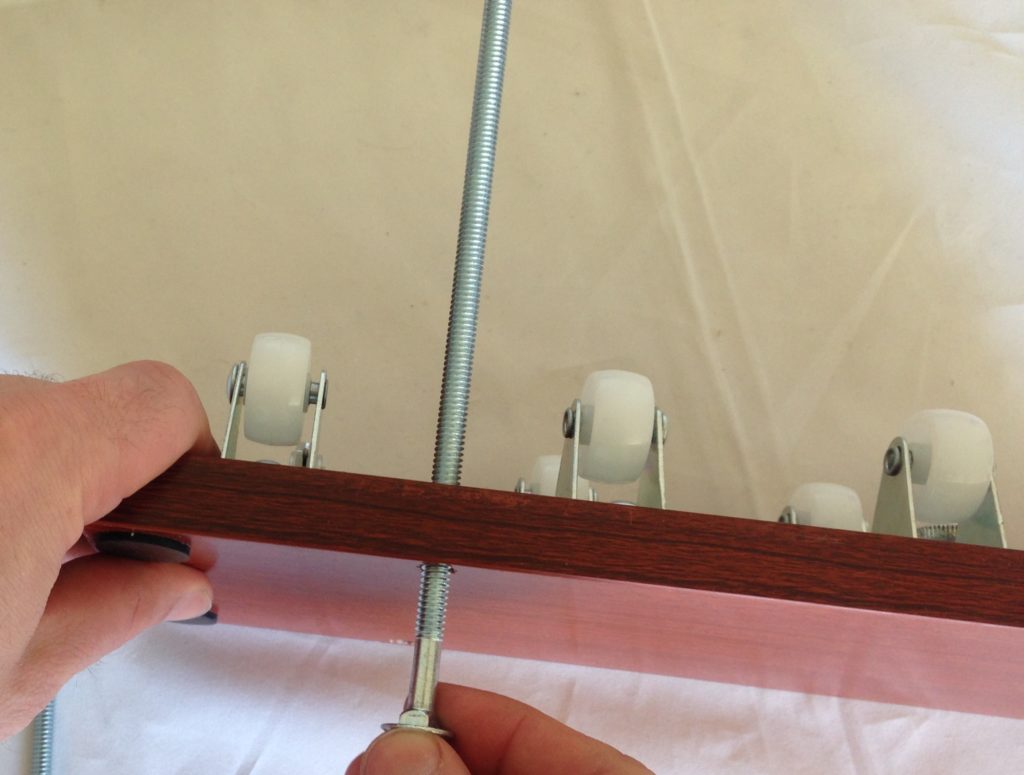
Bolt is placed through the bottom hole. Do this for both holes.
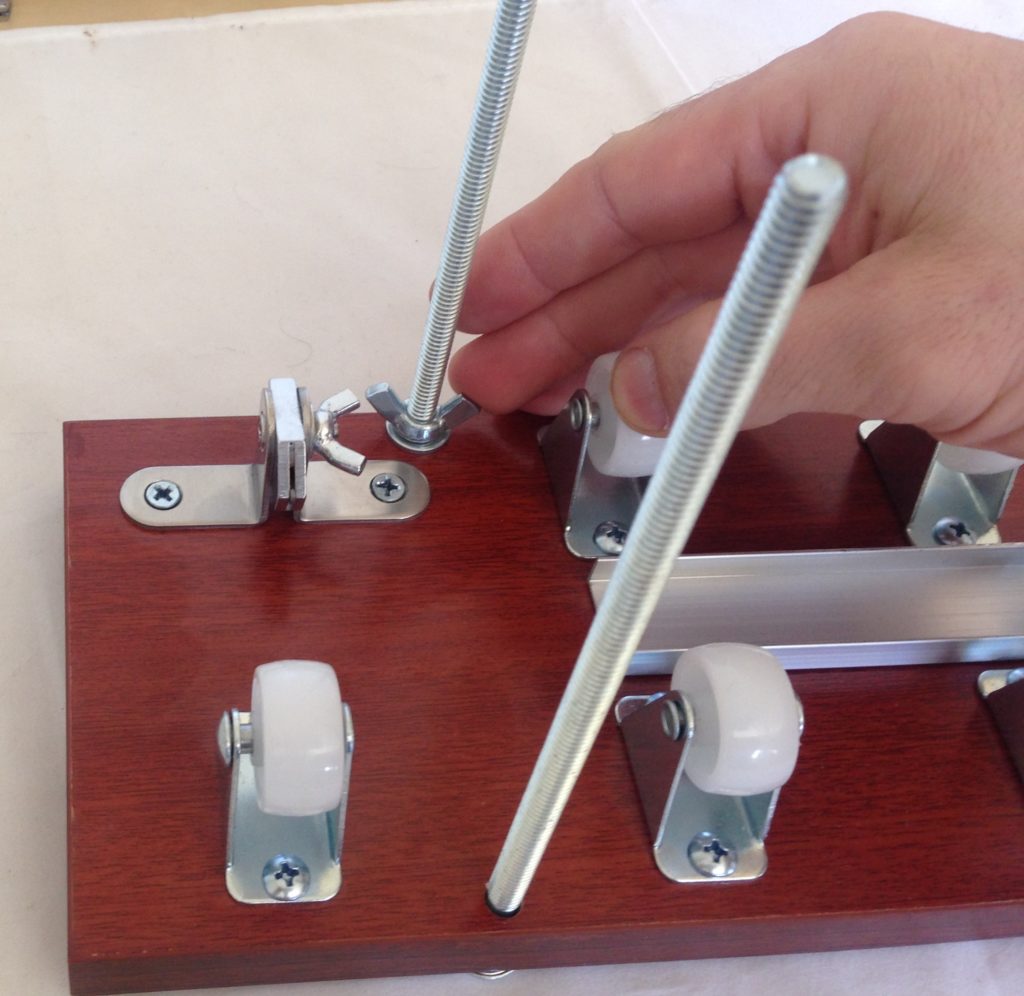
The bolt is then secured to the board with a washer and wingnut. Tighten the wingnut until the bottom square part of the bolt smashes into the board.
Step 2: Place cross board over bolts, followed by a spring, washer & wingnut.
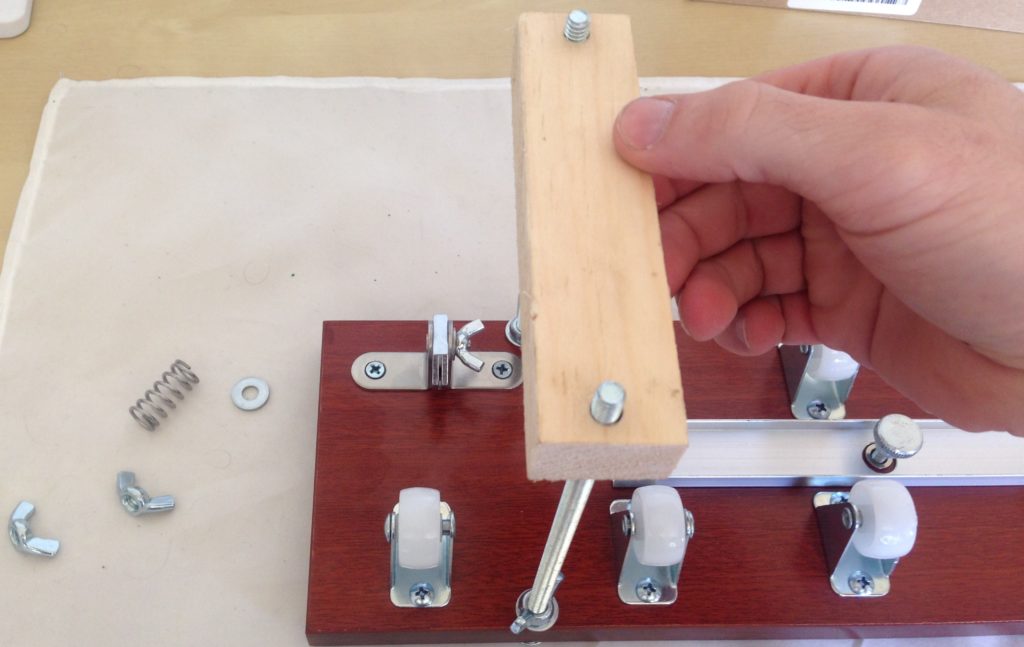
Slide cross board over bolts.
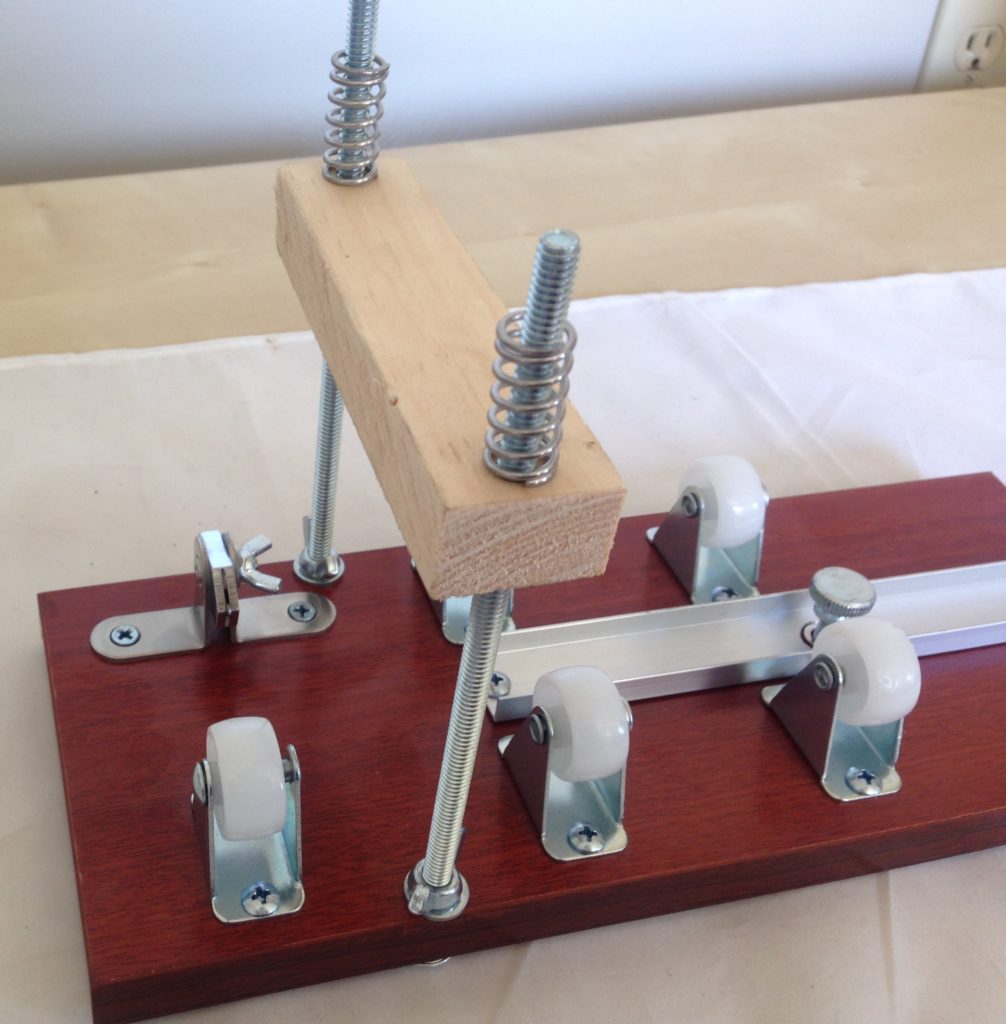
Then place the springs over the bolts.
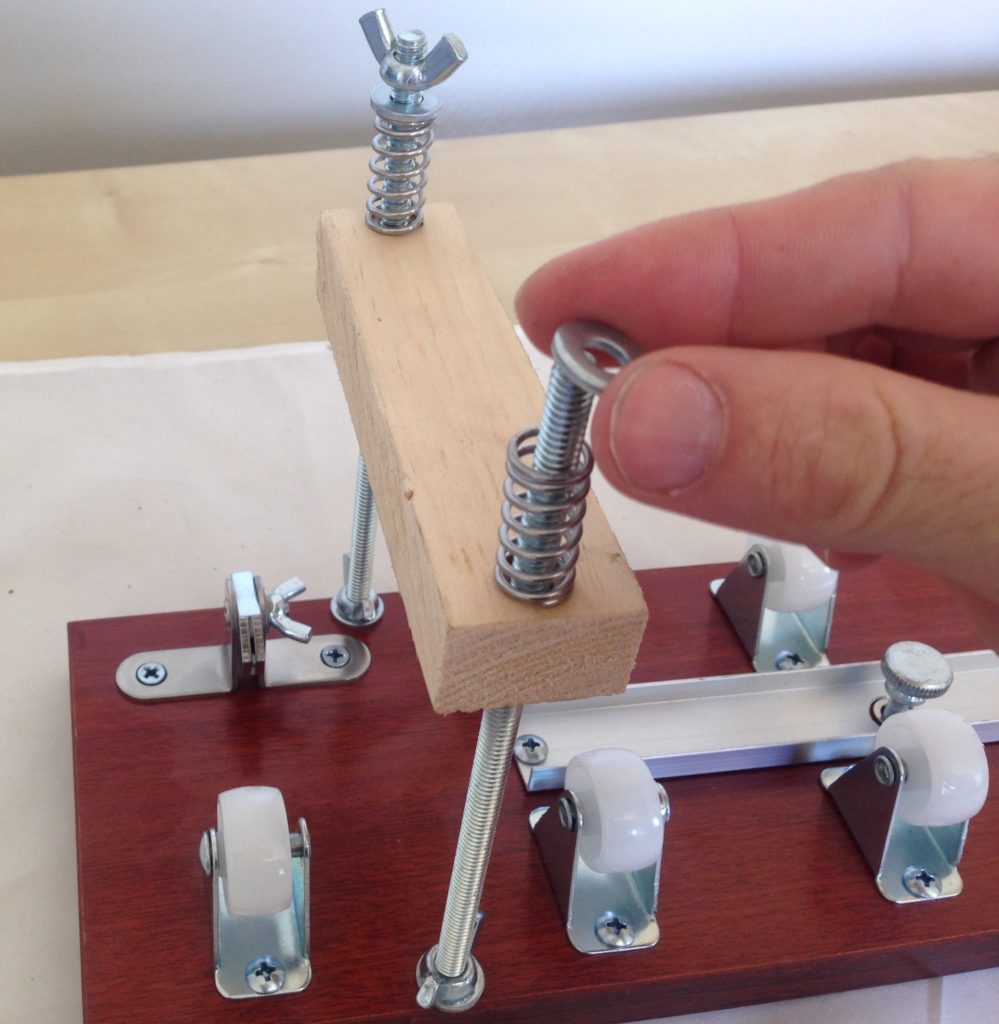
The washers and top wingnut is then added to complete setup of the spring-force device.
Step 3: Loosen knob screw, insert back brace into track & tighten knob screw
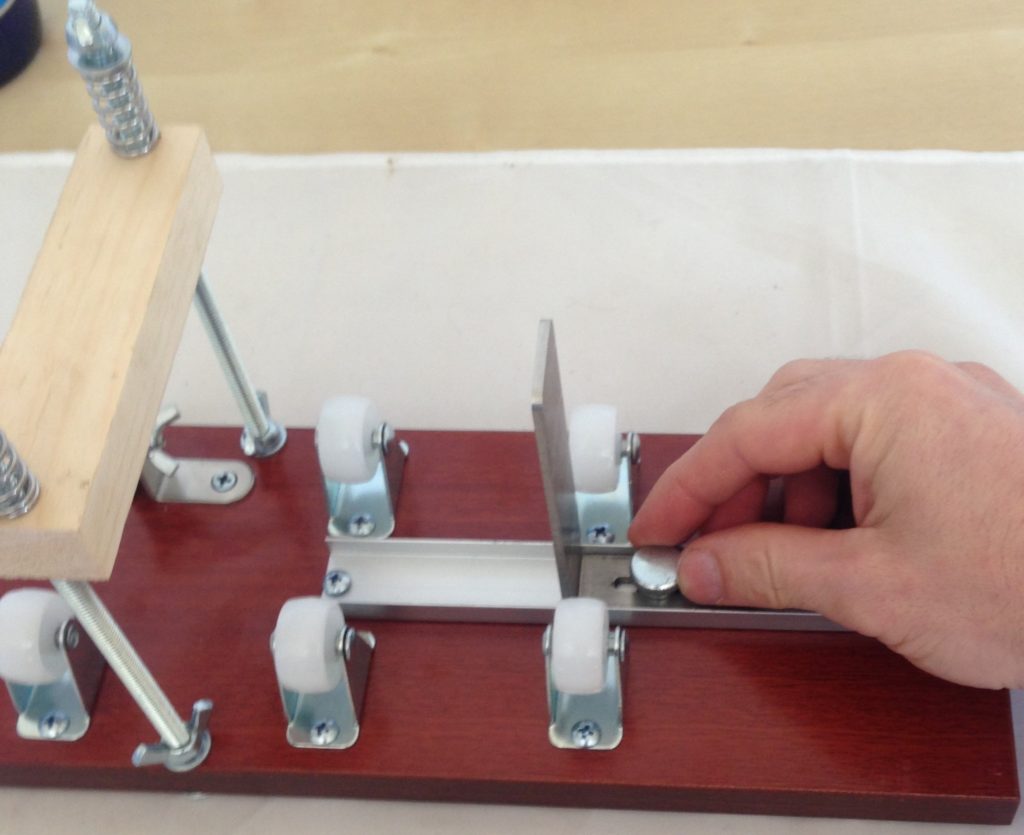
This step shows the back brace inserted in the track and the knob screw being tightened to hold it in place.
Step 4: Adjust cutter blade upright
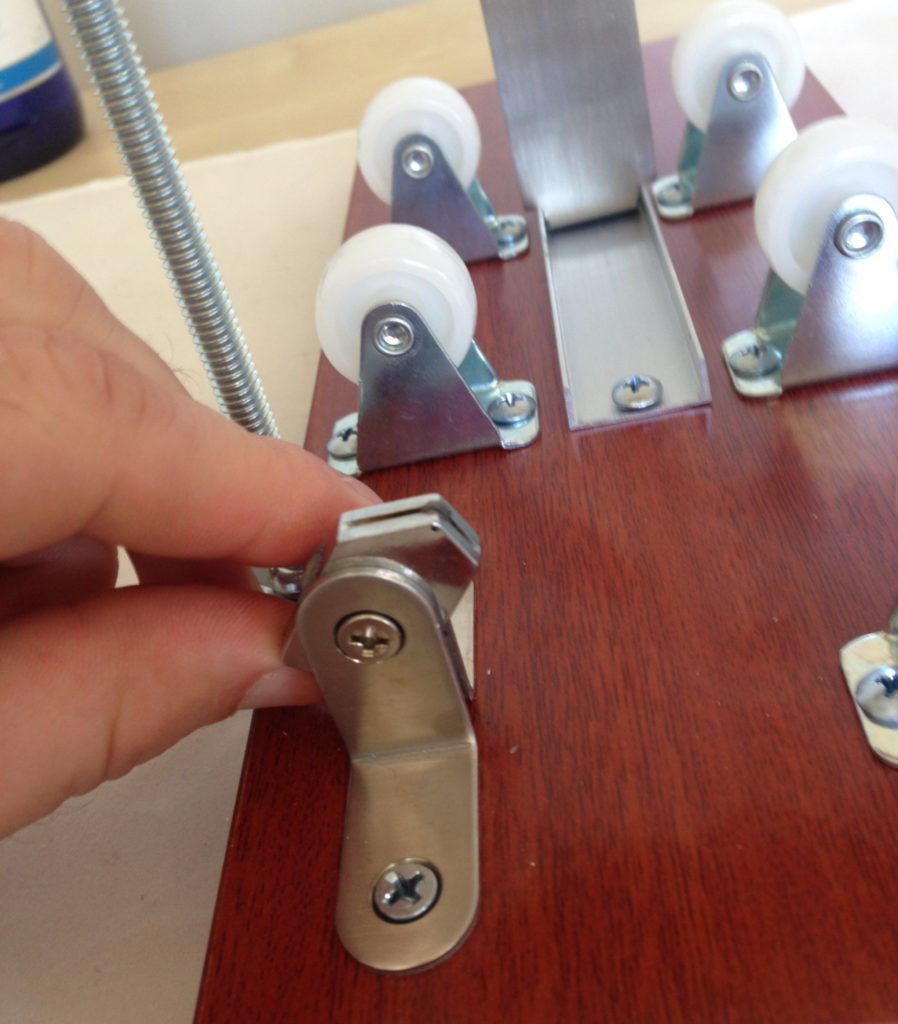
In many cases, you must adjust the cutter blade upright to the 10 o’clock position so it is perpendicular to the bottle surface in order to cut bottles properly. Also, please make sure the screw and wingnut that holds the blade is tightened to prevent it from sliding down.
Instructions: How to Use the Spring-Force Bottle Cutter
Step 1: Loosen the top wingnuts and pull the cross board up until the bottle fits in between it and the rollers.
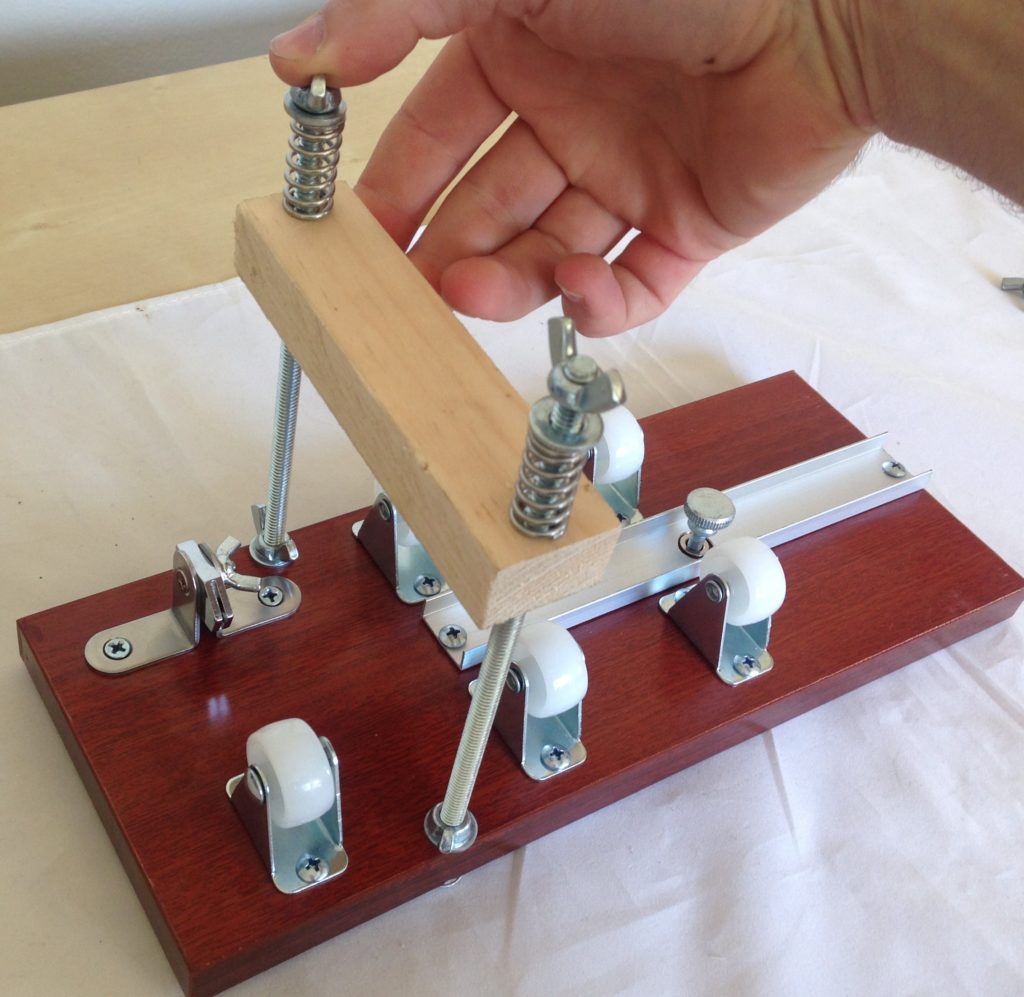
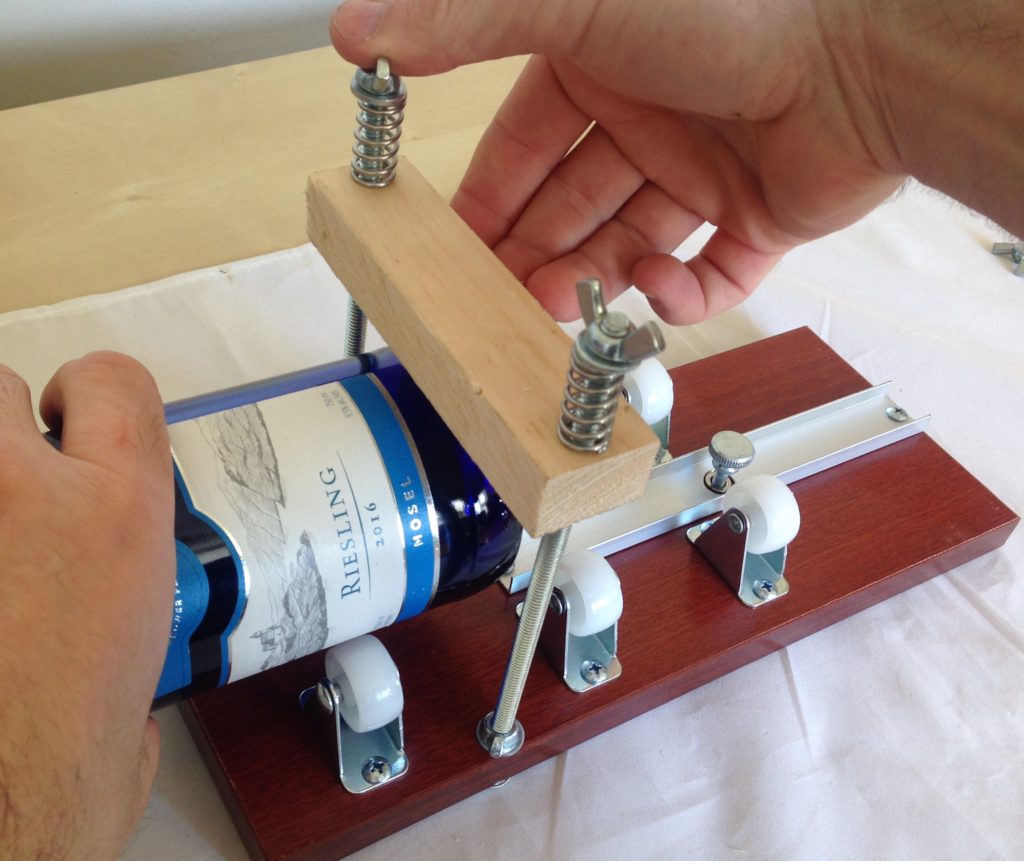
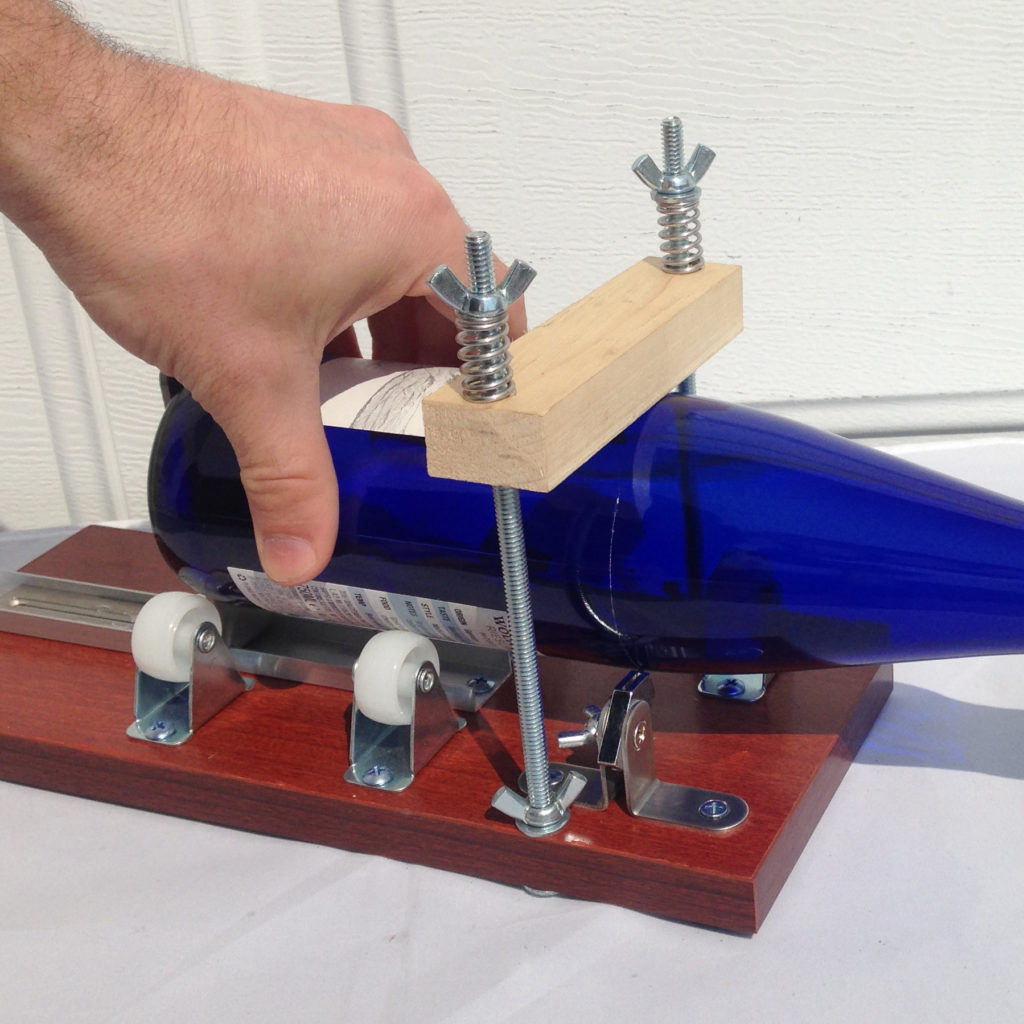
Step 2: Once bottle is positioned where you want to cut it, tighten the wingnuts so that it compresses the springs about a quarter to half way.
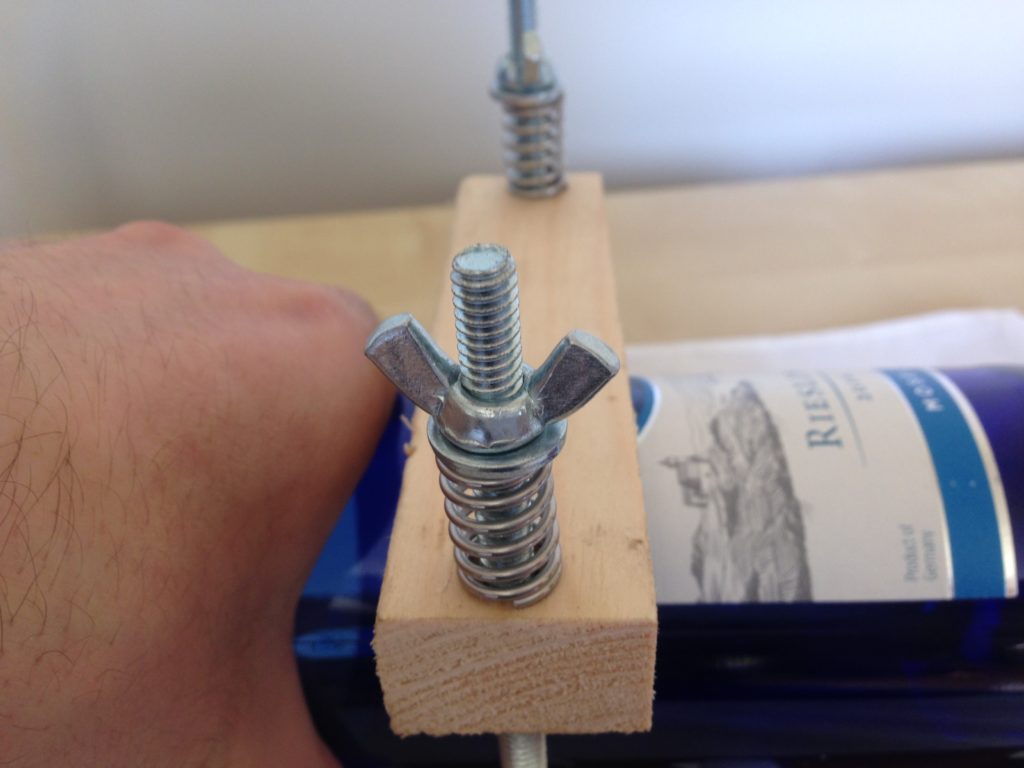
- The amount you compress the springs may vary depending on how thick of a bottle is used. Too much pressure may crack the bottle, while too little may not be enough to score the bottle deep.
- Rule of Thumb: Wine bottles aim for the springs to be compressed almost halfway while beer bottles are around a quarter the way compressed.
Step 3: Adjust the back brace so that it touches the bottom of the bottle and tighten the knob screw to hold it in place. (Note: the back brace can be flipped forward or backward to cut near the bottom or top of bottles.)
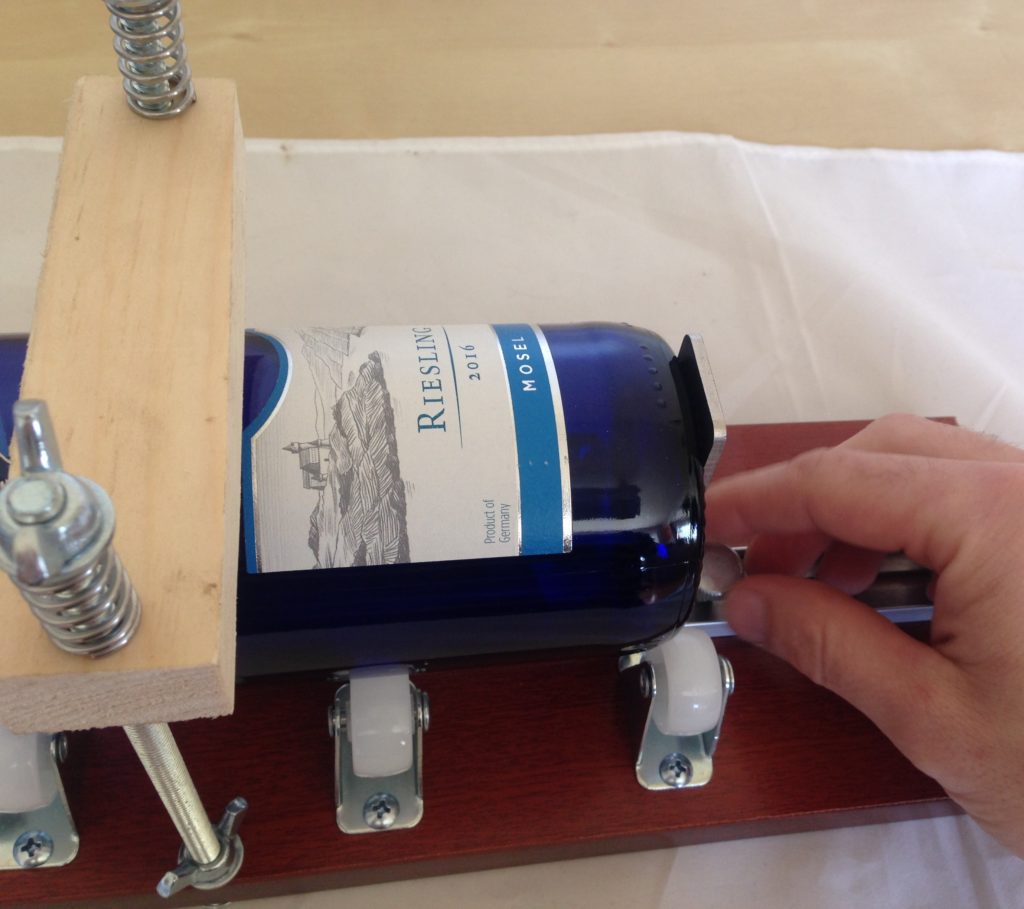
Step 4: Roll the bottle around once so that it scores a heavy line into the glass while turning. *As a safety measure, you may wear rubber gloves & safety glasses on this step.
Remember these tips before you start:
- IMPORTANT: Adjust the blade up for a good contact point– required for perfect cuts!
- While turning, make sure to keep the bottle end against the back brace at all times to keep a straight cut.
- Do not go over the score line more than once with the cutter. However, it is recommended to go over faintly scored areas a second time so the whole line is consistent around.
Step 5: Inspect Score Line—IMPORTANT!
It is important to turn a consistent score line depth or the bottles may crack in the following steps. Observe any areas that are lighter than the rest of the bottle and score only those areas a second time so the line looks perfectly consistent around.
Step 6: Heat up the score line
The most popular way to heat the score line is to heat up water on the stove to a near-boiling temperature and pour it over the cut but this is a hassle, takes too much time and creates more waste. We found the better way is to apply heat over the line with our heat gun tool for ~40 seconds while rotating evenly.
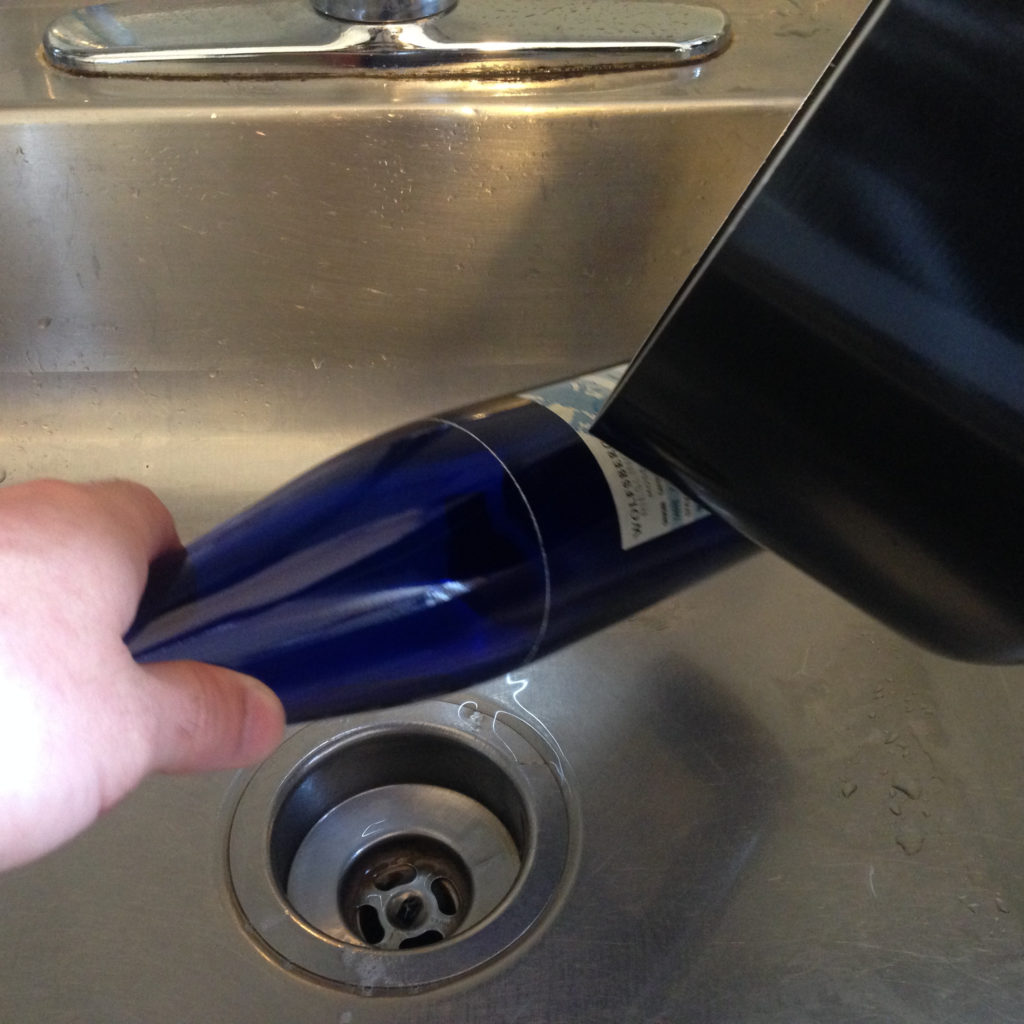
Warning! Some of our premium kits include an electric heat tool. If you use this or any other heat gun, be sure to use it at safe distances away from your water source. Also, be sure to remove any inside contents, caps or corks from bottles to prevent pressure build up and exploding glass.
Step 7: Apply a light stream of cold water over score line while turning and lightly pull to separate.
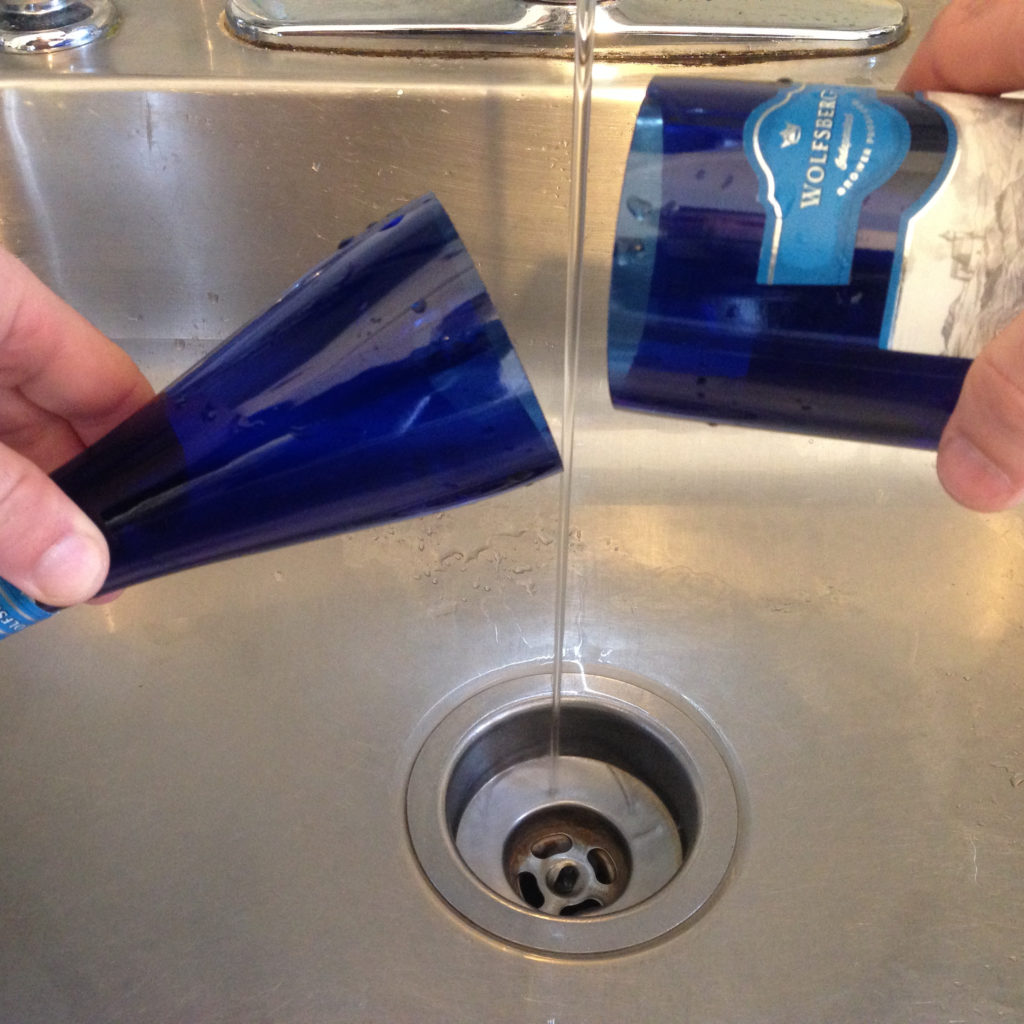
Step 8: Wet the sandpaper and rub over the top, inside and outside of the cut edges to a desired smooth finish.
Caution: glass edges will be sharp! Also, sanding glass can emit dust in the air that may cause silicosis of the lungs. It is best to wear an approved dust mask and keep your face as far of a distance as possible to prevent inhaling dust. The faster the sanding process, the greater possibility of dust. Wet sanding with water will greatly reduce this risk.
