In this post, we wanted to share a video created by Lindsey at www.KnockoutHideout.com with her DIY tutorial on how to make a self watering planter from a cut wine bottle. These are very useful and make great decorations. She shared the below tutorial guide and the video.
How to Make the Self-Watering Planter Step by Step Guide
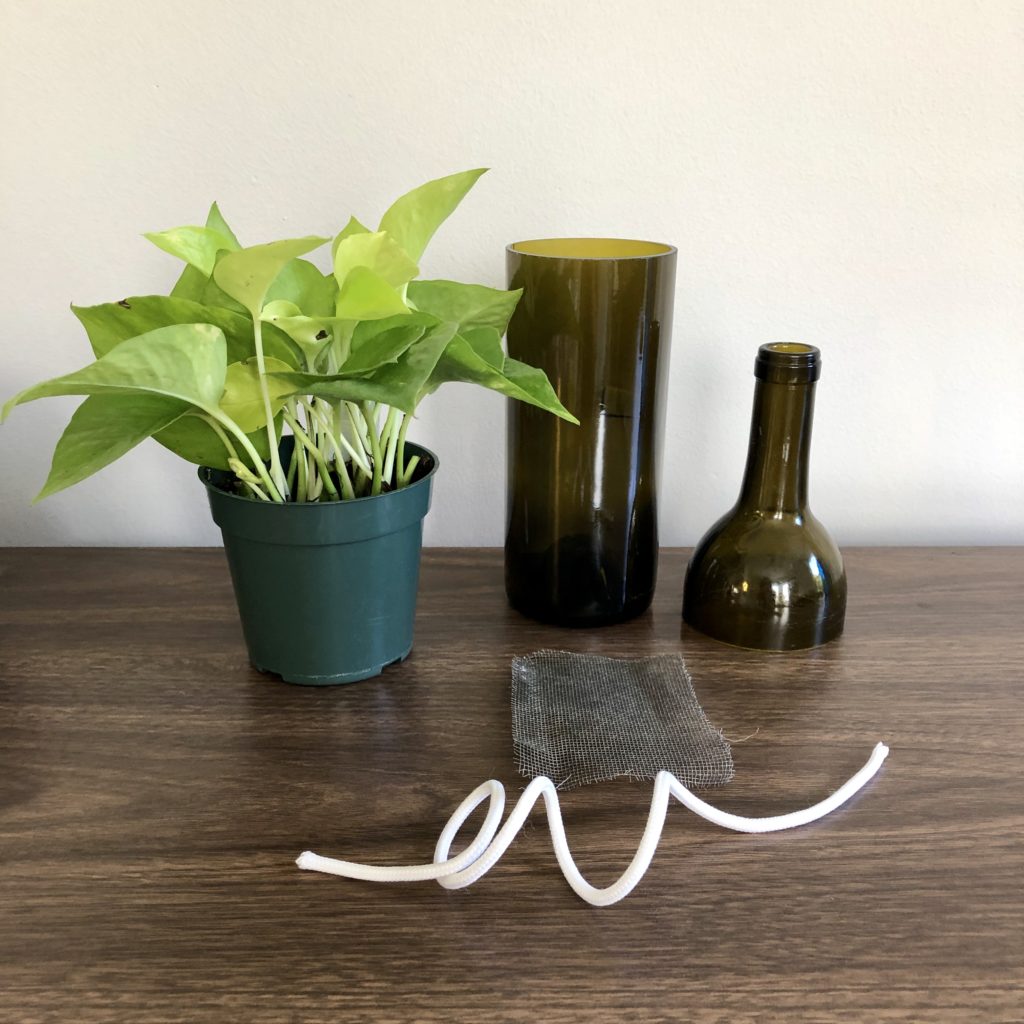
SUPPLIES:
1. Wine Bottle (cut)
2. Thick String
3. Piece of Screen (at least 2” x 2”)
4. A plant
DIRECTIONS:
Step 1: Cut your wine bottle approximately ¾ of the way toward the top, before the bottle curves
toward the spout. You want to be sure that the top piece is short enough to not touch the bottom
when it is cut and inserted back into the bottle (see photo). Be sure to sand the edges to ensure
there are no rough spots.
Step 2: Take your string and your piece of screen. Cut a small hole into the screen, and run
your string through. Tie a large knot at the end of the string so that it cannot fall through.
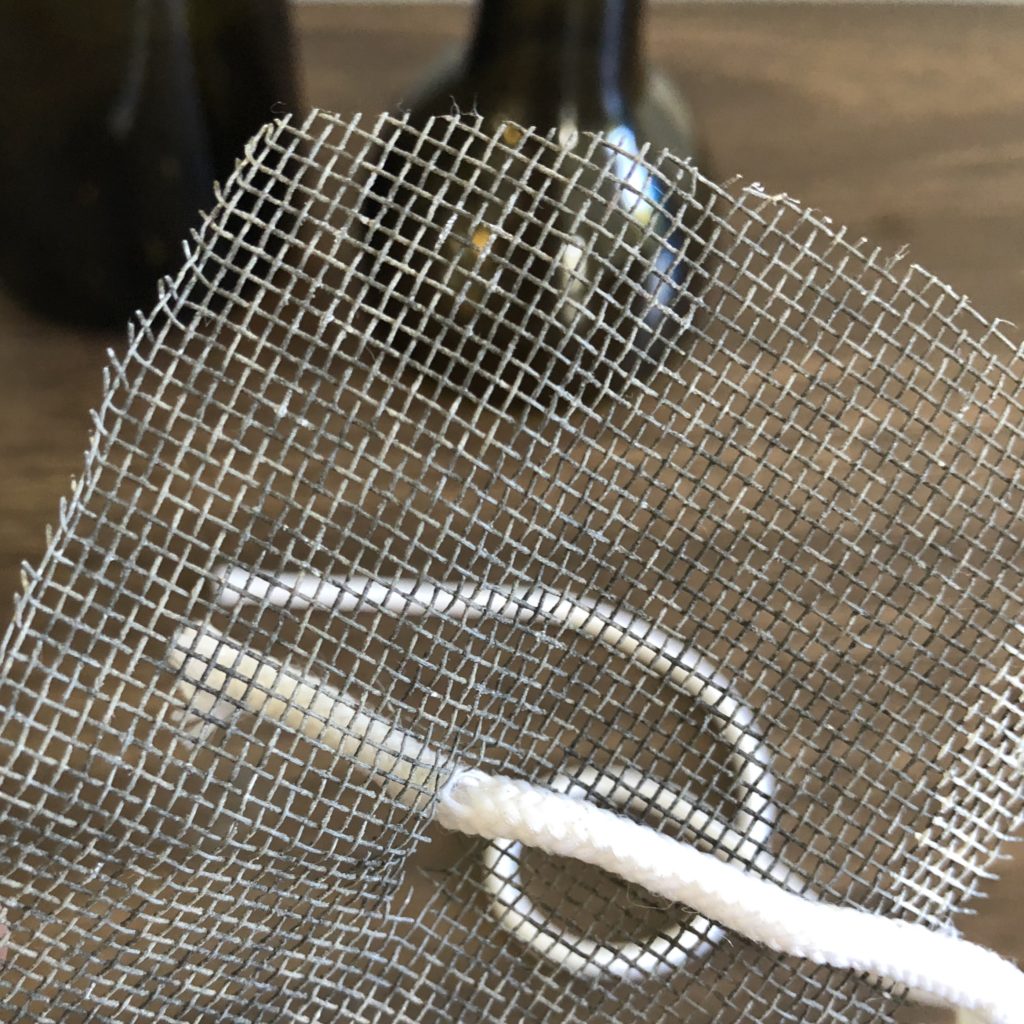
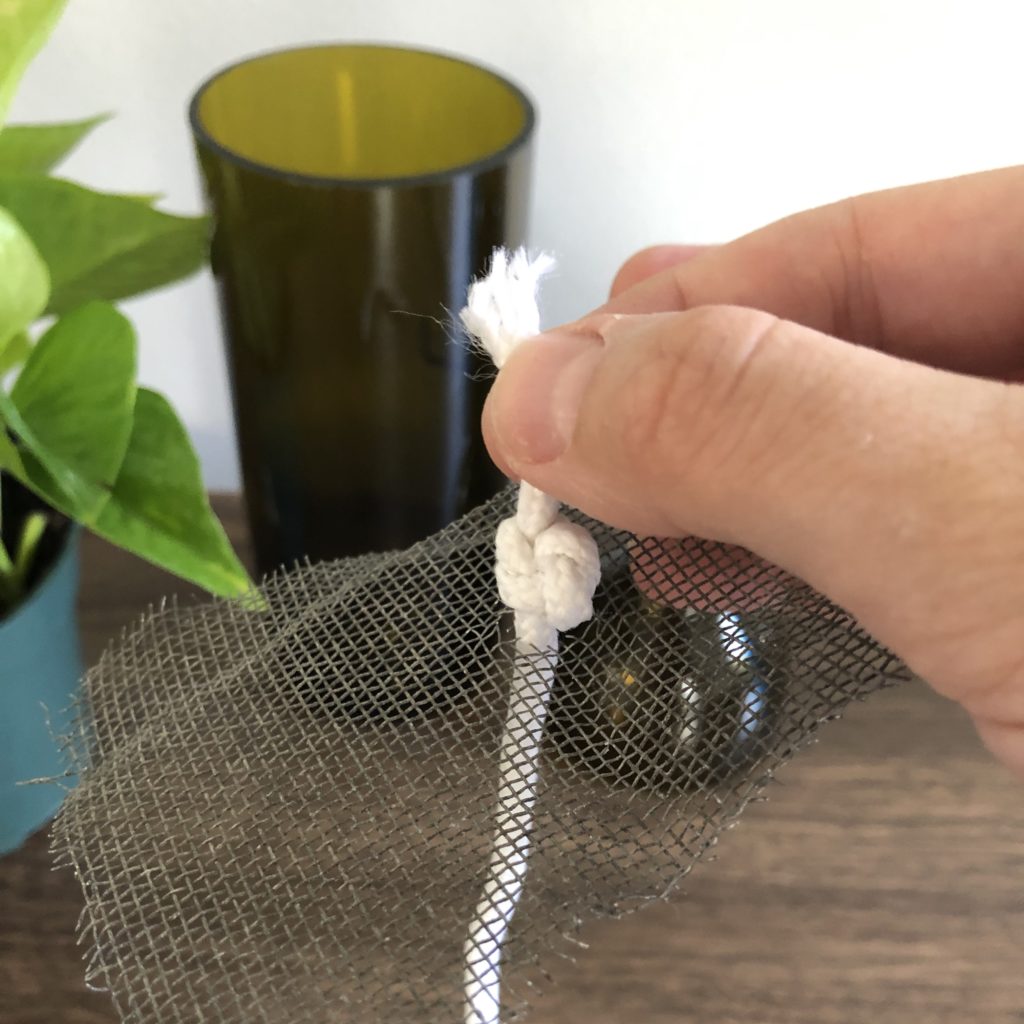
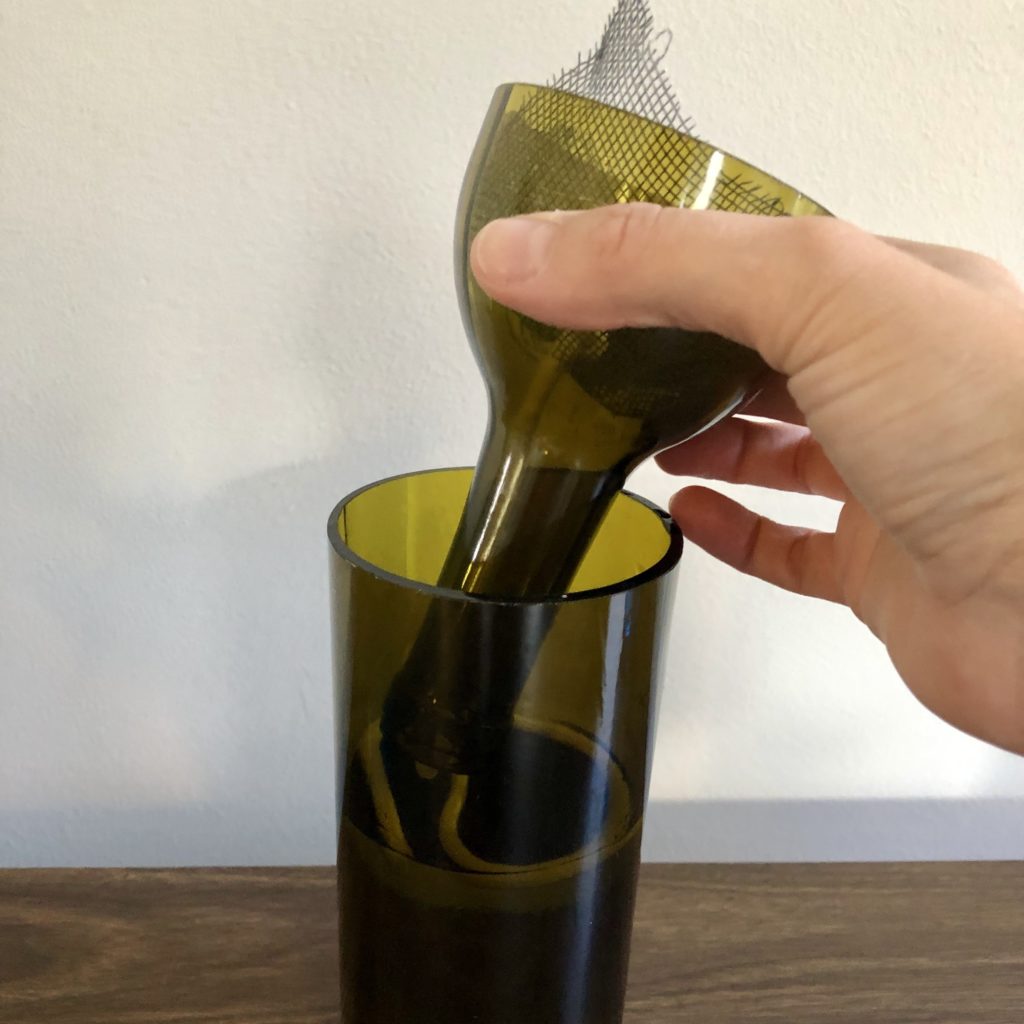
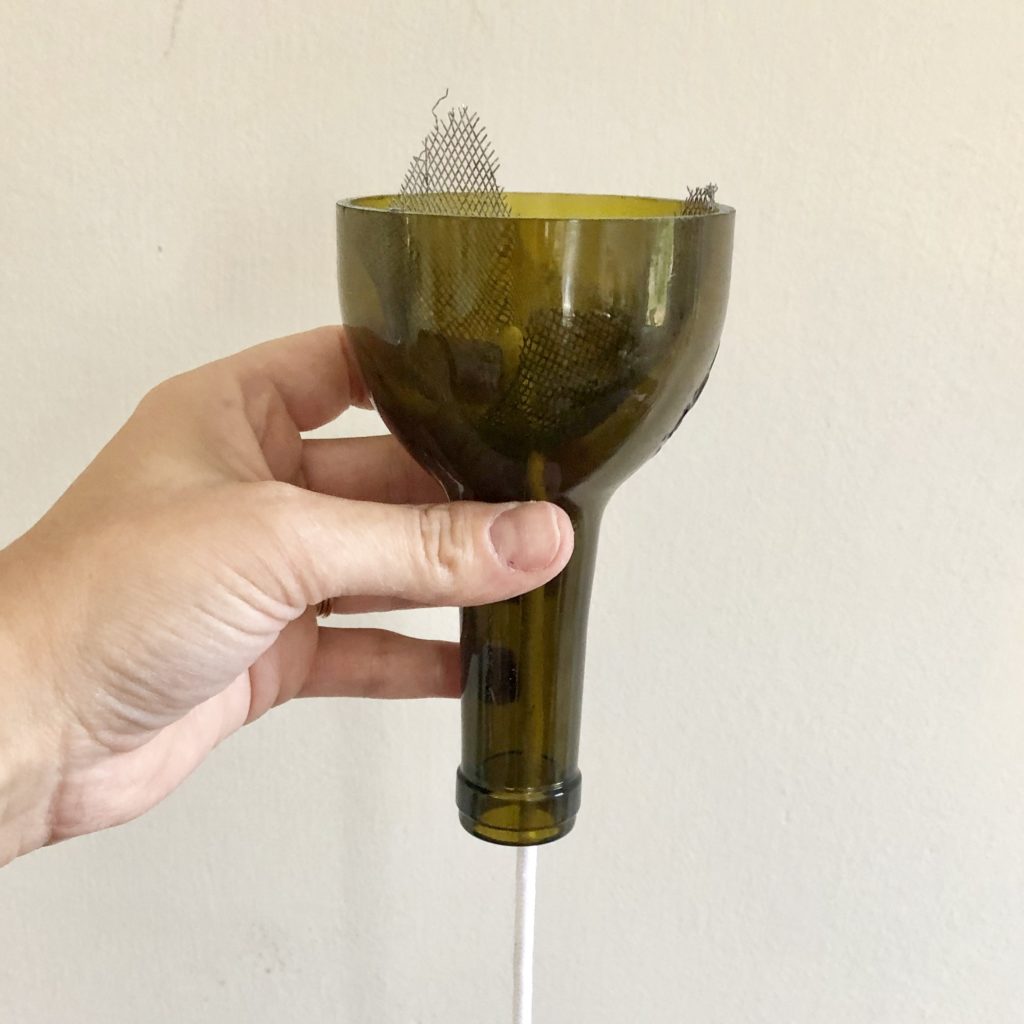
Step 3. Run your string down the neck of the bottle with the screen resting in the top. The string will
wick the water up from the water reservoir (the bottom half of your bottle) and the screen helps
keep your water clean and the string in place.
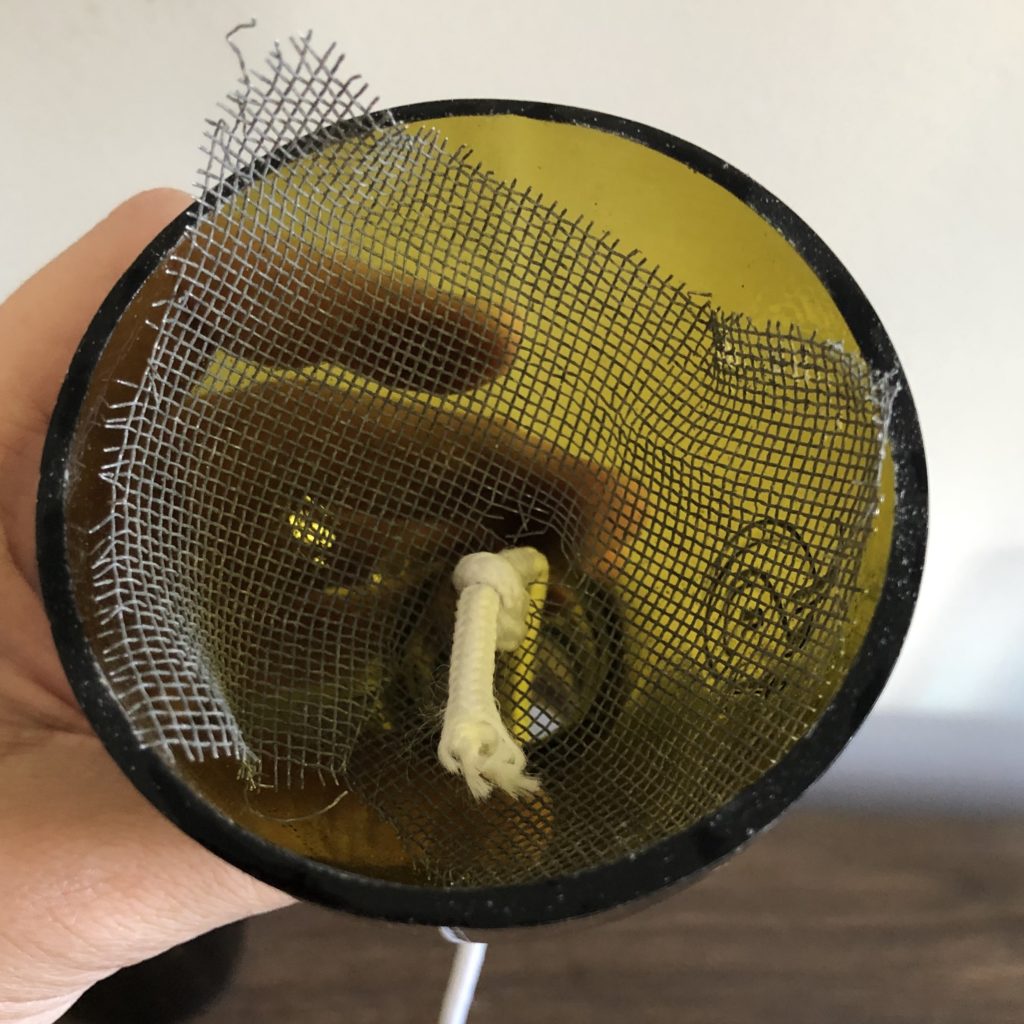
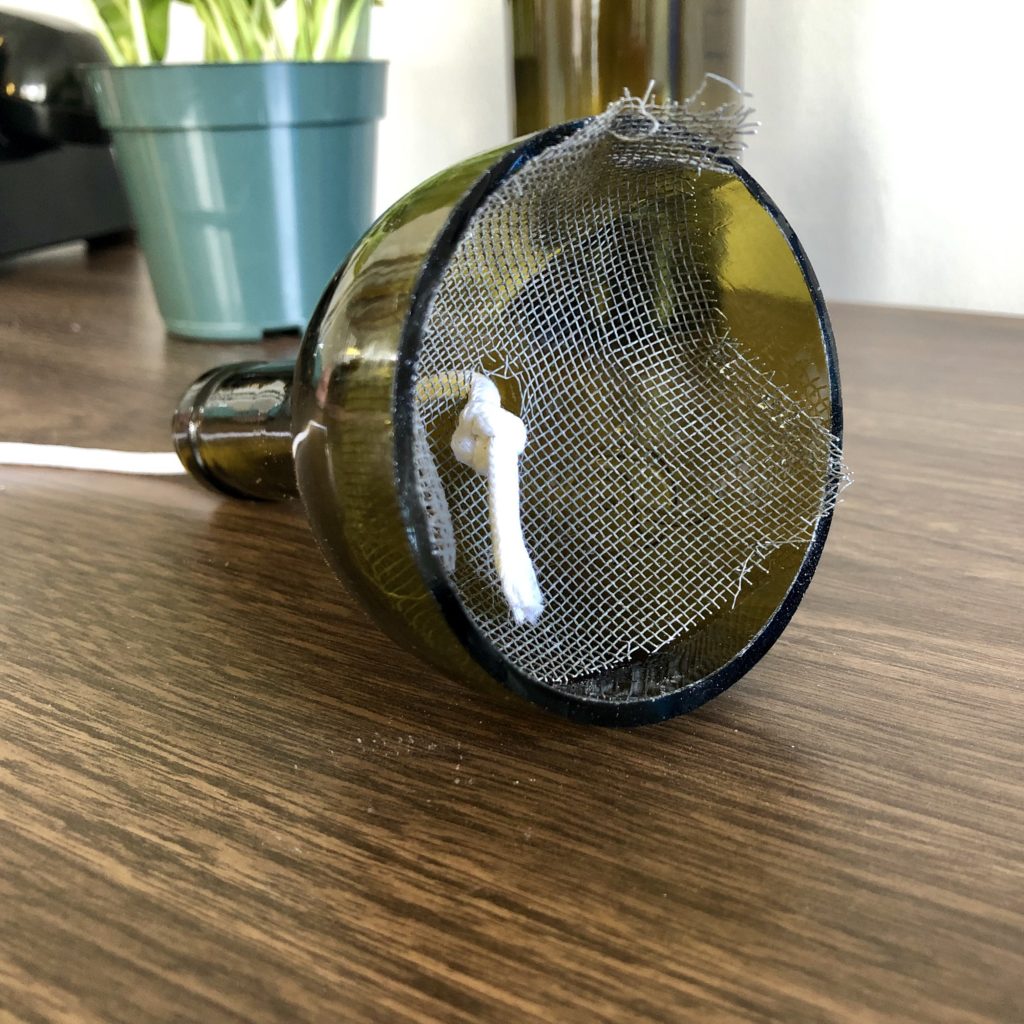
Your bottle should now look like this:
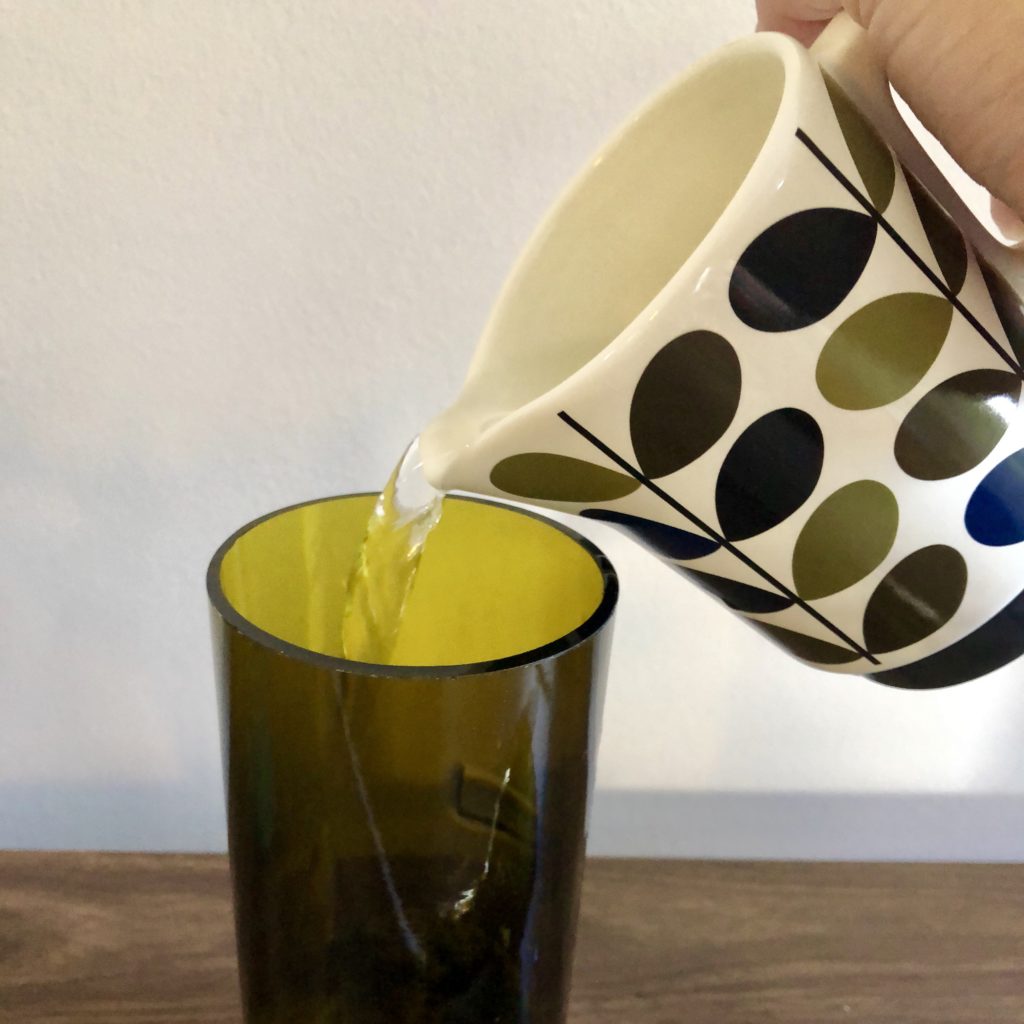
Step 4. Set the bottle top aside. Fill the bottom half of the bottle with water.
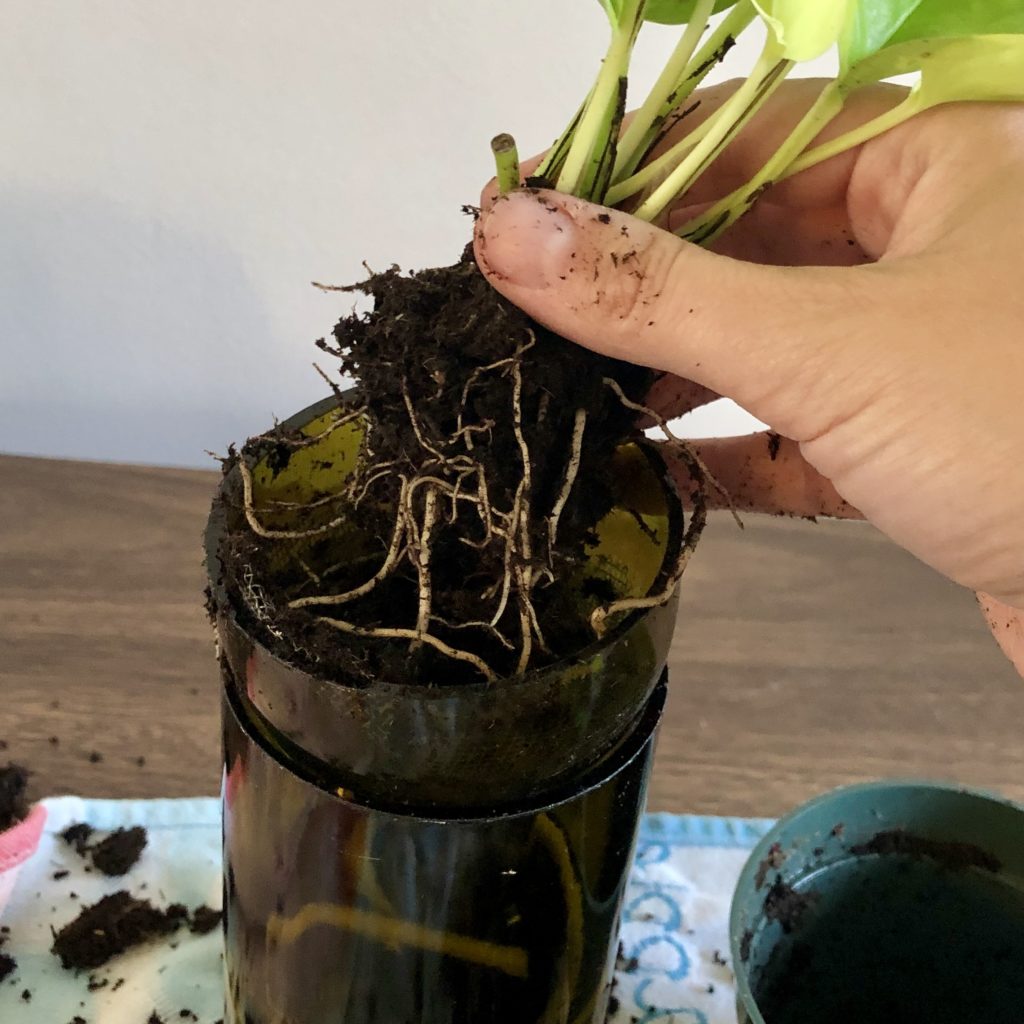
Step 5. Place the bottle top inside bottle bottom. Transplant your plant, herb, dirt or seeds to the
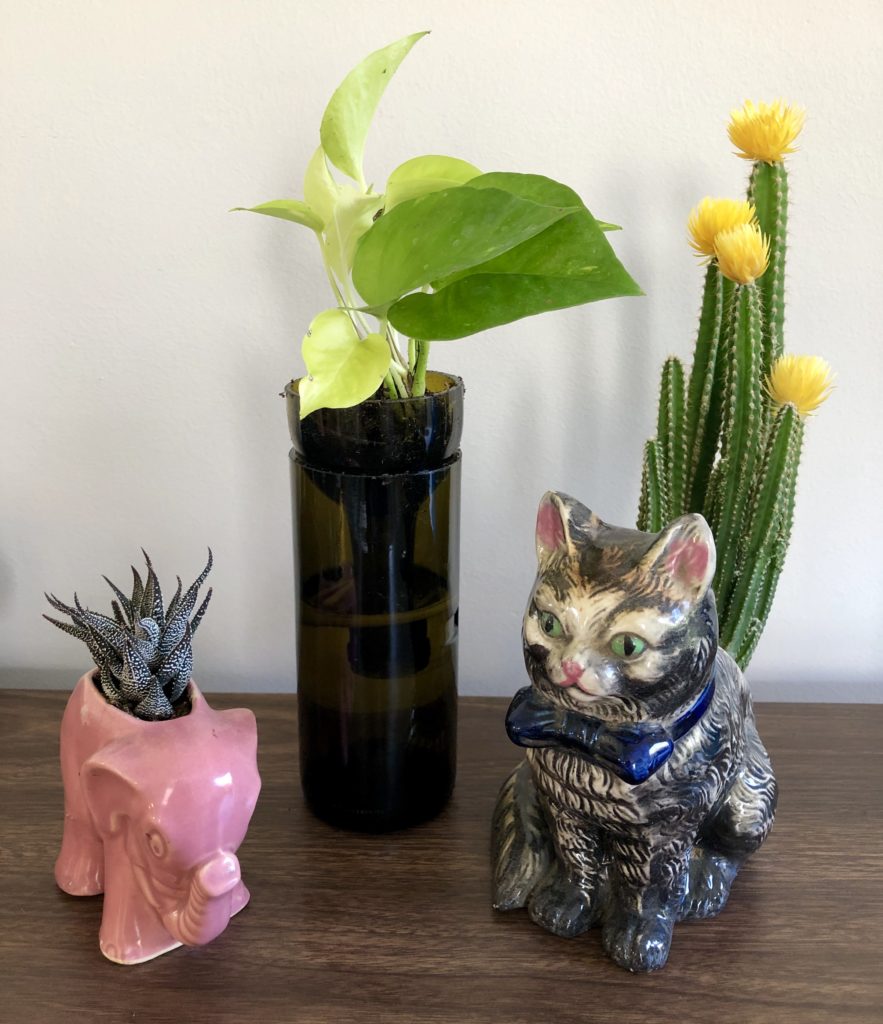
bottle top, resting it on top of the screen. Voila! Self-watering plant holder.
